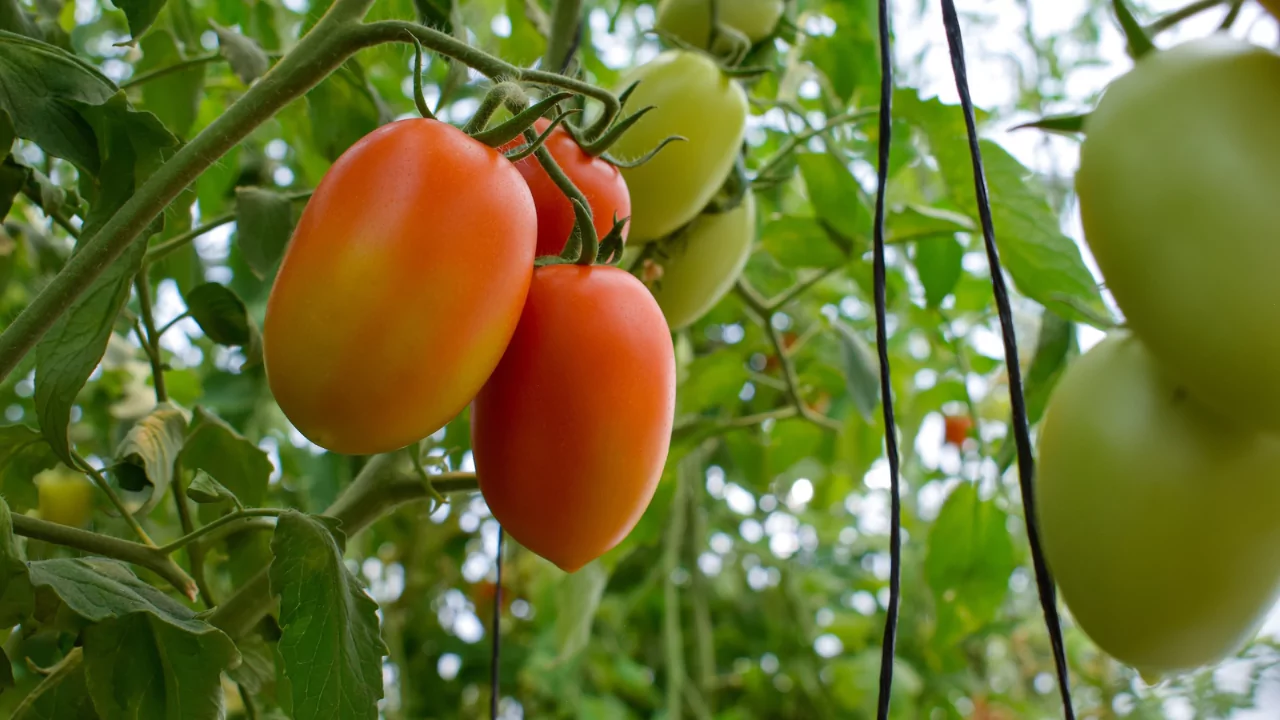
Roma tomatoes belong to a favored class of paste tomatoes. Their firm, meaty walls, limited water content, and few seeds make them the go-to choice for making sauces and pastes.
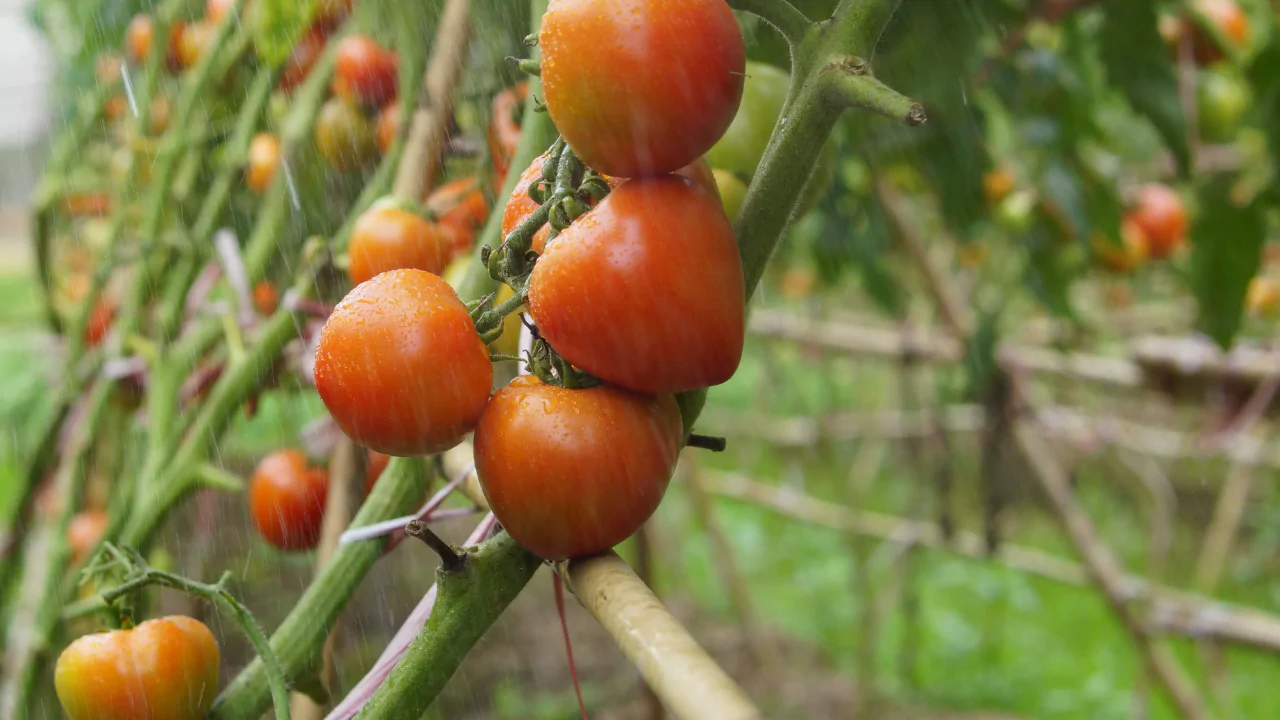
On the vine, Romas reach nearly three inches, growing into a tidy cylinder. Their skin ripens from deep red to shades of pink and orange.
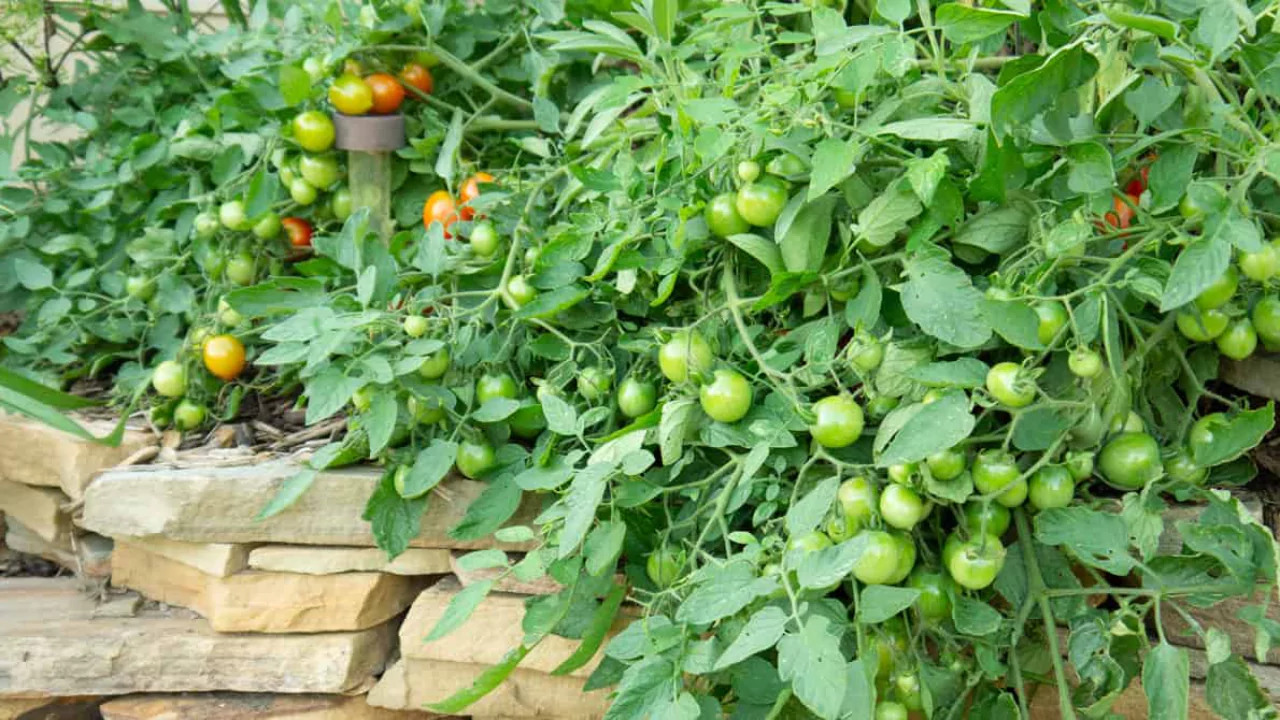
The plant itself forms a compact bush that, when pruned and watered, yields an impressive harvest. That reliability has made Roma a favorite in home gardens.
Common varieties the Roma tomato include:
- Plum Regal: a fleshy, flavorful, dark red variety of Roma tomato with immunity to blight disease.
- Sunrise Sauce: a variety popular for its sweet flavor, ideal for making sauces and pastes.
- Heinz: the best-known paste tomato variety. It produces large, flavorful tomatoes, rich in lycopene.
- Martino’s Roma: these produce dark red, pear-shaped tomatoes with high yields and excellent blight resistance.
Here’s everything you need to know about growing Roma tomatoes.
Are Roma Tomatoes Bush or Vine Tomatoes?
Roma tomatoes are determinate plants, developing into a dense bush and stopping at a set height.
Consider the following comparison between determinate and indeterminate tomatoes:
| Determinate Tomatoes | Indeterminate Tomatoes |
| They have a bush-like habit and don’t constantly extend their length. Thus the name “bush tomatoes.” Are generally smaller, with most maxing out at 4 to 5 feet. This makes them suitable for growing in containers. They require minimal staking to support the extra strain the fruits put on the vines. Fruit-bearing and ripening occur over a short time – usually four to five weeks. | They are also known as “vining tomatoes.” They will continue to grow and flower throughout the growing season. They give a steady supply of tomatoes rather than one large harvest. They grow in sprawling vines reaching up to 10 feet, thus requiring sturdy staking or caging. They constantly have blossoms and fruits at different stages due to progressive development. |
How to Grow Roma Tomatoes
How to Grow Roma Tomatoes from Seed
You can raise Roma tomatoes from seed inside or pick young plants at a nearby nursery.
Because Romas need time to mature, start seeds indoors six to eight weeks before the last frost date.
For reliable germination, plant seeds about half an inch deep in moistened, well-draining mix and keep the temperature between 65℉ and 90℉.
Position the emerging seedlings beside a south-facing window or provide full-spectrum grow lights; without enough light, stems stretch unnaturally and bend toward the source.
Once true leaves develop, thin the plants and space them two inches apart in the same mix to promote sturdy growth
When seedlings reach five inches and are roughly six to eight weeks old, begin the hardening-off phase.
Hardening Off Your Roma Tomato Plants
Hardening off gradually acclimates young plants to wind, light, and fluctuating temperatures outdoors; start this routine from mid to late April before final planting into pots or garden beds.
Set trays outside in shade for one to two hours, then increase duration and slowly introduce them to morning sun.
On sunny breezy days, monitor seedlings closely to guard against wilting or torn leaves, using temporary screens, cloths, or placing flats near a sheltered window when winds intensify.
After seven days of gradually extending exposure, plants should be resilient enough for transplanting into containers or the garden.
Do NOT harden off your Roma seedlings by exposing them to chilly air; doing so can stress them and trigger stunted growth.
Growing Roma Tomatoes in Pot
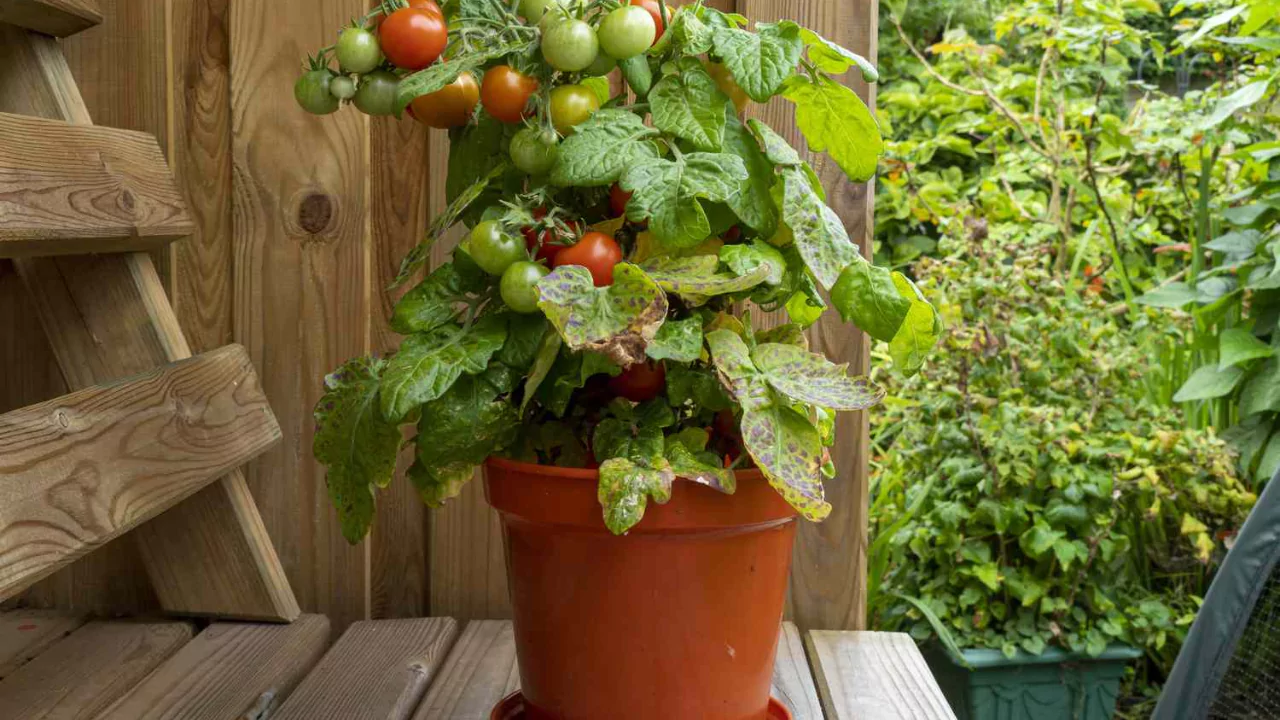
When growing tomatoes in pots, choose fabric containers. They allow excess water to drain freely and lets roots breathe.
If fabric pots are unavailable, ordinary planters with numerous drainage holes will also work. Aim for containers at least 14 to 16 inches deep and 20 to 24 inches wide.
Fill them with loose potting mix, adding perlite, vermiculite, or coco coir for extra aeration.
For potted Roma tomatoes, set up stakes or a cage before planting. Early support encourages upward growth and steadies the plant once it fruits.
Place the pots where they receive 6 to 8 hours of sunlight daily, and water them consistently.
Transplanting Roma Seedlings
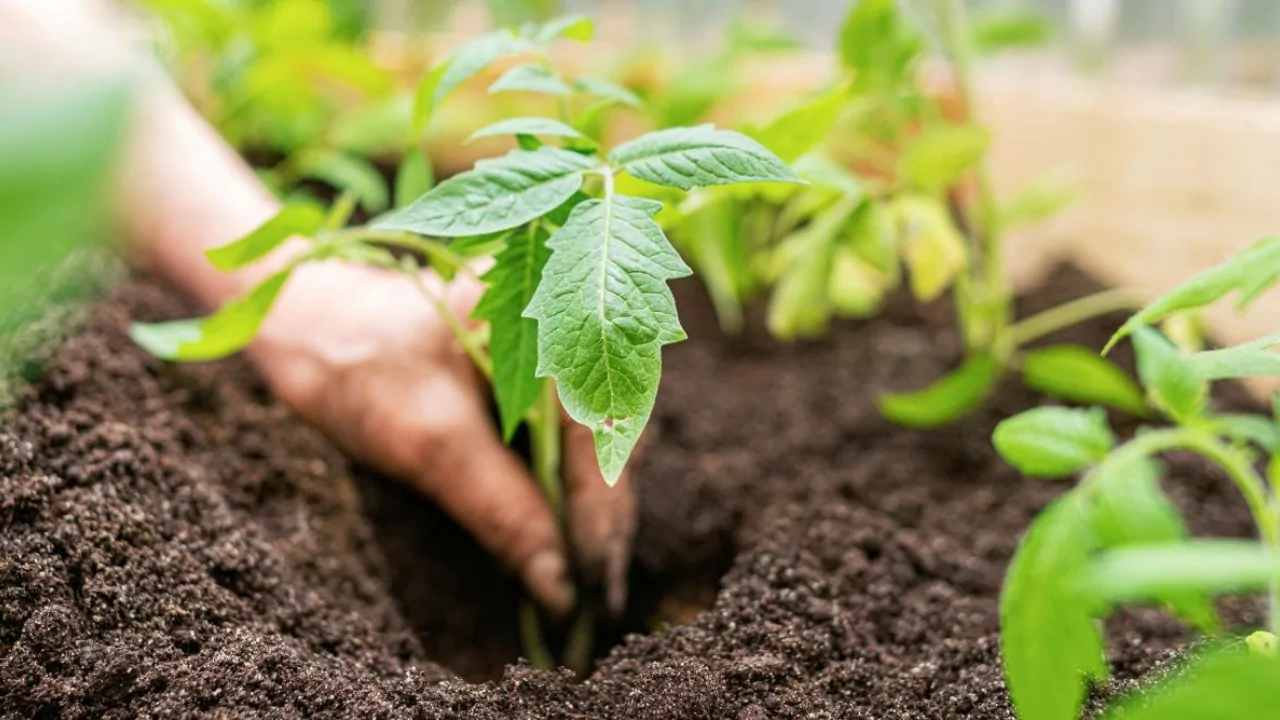
Transplant seedlings only after the last frost, when nighttime temperatures stay above 50℉.
Choose short, sturdy, dark-green plants for transplant. Avoid tall, leggy, yellow seedlings or any that have begun to flower.
Mature seedlings will stall after transplanting while younger seedlings thrive.
Here are the steps you need to follow when transplanting your seedlings:
- Water the plants well before transplanting.
- Install the plant supports, i.e: stakes, tomato cages, trellises, etc.
- Pinch off a few of the lower branches.
- Plant the root ball such that the lower leaves are just above the surface.
- Space the seedlings between 14 and 20 inches for optimal growth
- Firm the soil around the base and water to establish good root-soil contact.
TIP: To ensure healthy transplants, plant the seedlings such that part of the stem is below the soil. Tomato stems can sprout new roots when buried.
Caring for Your Roma Tomatoes
Roma tomato plants need the same conditions as any other tomato. That is:
- Soil: warm, loose, and packed with organic matter. They tolerate slightly acidic dirt but yield best when pH stays between 6.0 and 6.5.
- Sun: Give Roma tomatoes full sun. Aim for at least six hours of direct light each day to maximize fruit production.
- Temperature: Roma tomatoes thrive in a temperature range of 55℉ to 90℉. Start seedlings too early, and tender leaves may fall victim to late frost.
- Water: Fruiting plants require steady moisture, so check soil weekly and water deeply. Uneven or scarce watering invites splits in the fruit, while soggy roots in cool air promotes rot.
- Fertilizer: Tomatoes are greedy feeders, so mix a slow-release balanced fertilizer into the planting hole. Top-dress plants with compost or well-aged manure every three weeks for an extra boost.
- Pruning: As a compact bush type, Roma tomatoes need little shaping, but you can remove sick or tangled leaves. Avoid heavy thinning, which reduces fruit set and exposes tomatoes to sunscald.
- Weeding: Use a narrow hoe or hand trowel to slice seedlings just beneath the surface, preventing regrowth. Work gently; too-deep digging disturbs tomato roots and delays harvest.
Harvesting Roma Tomatoes
Your Roma tomatoes are usually ready to pick about seventy to eighty days after you plant them. Because the Roma is a determinate variety, most of the fruit ripens at nearly the same moment. That synchronized harvest is a major bonus if you plan to cook big batches of sauce.
A single picking gives you enough tomatoes to fill a pot, which is why chefs love them as paste tomatoes.Of course, the same fruit is also delicious sliced fresh, with just salt and olive oil.
Pick the tomatoes when they feel firm and the color is deep, uniform red. If the air temperature climbs above 90℉, take the fruit inside and let it finish ripening at roughly 70℉.
Romas do not tolerate frost. So long as the sky stays clear, let the green fruit hang on the vine, but if frost threatens, gather whatever is left, wrap the fruit in paper bags, and keep it around 60℉ so it turns red.
Roma Tomatoes Pest and Diseases
Many gardeners picture Roma tomatoes as ancient heirlooms that sailed to America with Italian immigrants. In reality, the variety was created as a modern hybrid in 1955 by plant breeders aiming for high yields.
Researchers selected the seedlings because they showed resistance to both Verticillium wilt and Fusarium wilt. That background is why the original USDA release still sold everywhere carries the label Roma VF.
That said, the most common tomato pests and diseases are:
- Tomato Hornworms: These hefty green caterpillars blend well with a plants foliage, making them hard to spot. As they strip leaves and nibble immature fruit, damage mounts quickly. Hand-picking the worms and any visible eggs remains the most practical control-so long as you search regularly.
- Late Blight: This aggressive fungus can appear suddenly at any point in the season. Infected leaves bear oily grey patches that expand and eventually turn dark. Because spores spread easily and the disease survives winter in leftover debris, infected plants should be removed and destroyed immediately.
- Blossom End Rot: A shiny, water-soaked spot forms on the bottom of fruit. The disorder signals uneven moisture levels and calcium shortfalls during early growth.